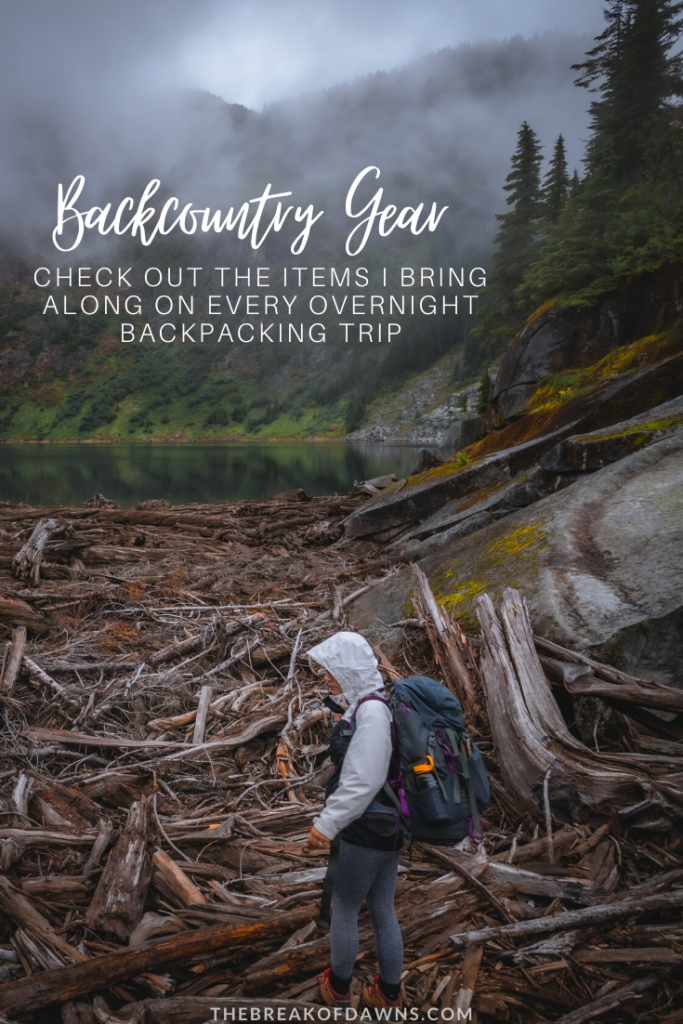
The brutal elevated climbs in North Cascades officially soared my backpacker status to novice, allowing me to make recommendations on backcountry gear. From the pack itself to my overnight meals, this backcountry gear guide includes every item I can fit into my backcountry pack. Along with including what’s necessary to survive a night out in the wilderness, I’ve also added in some ‘luxury’ optional items.
This blog post includes affiliate links. At no extra cost to you, if you purchase one of these products I may receive a small commission. This helps me maintain my blog as a free space to you. Check out my Disclaimer for more info!
The Basics
Full transparency, I haven’t tried every brand under the sun for my backcountry gear. After working with certain products, I have returned some to exchange for others I like better. Let’s start with my go-to packs:
Backpack
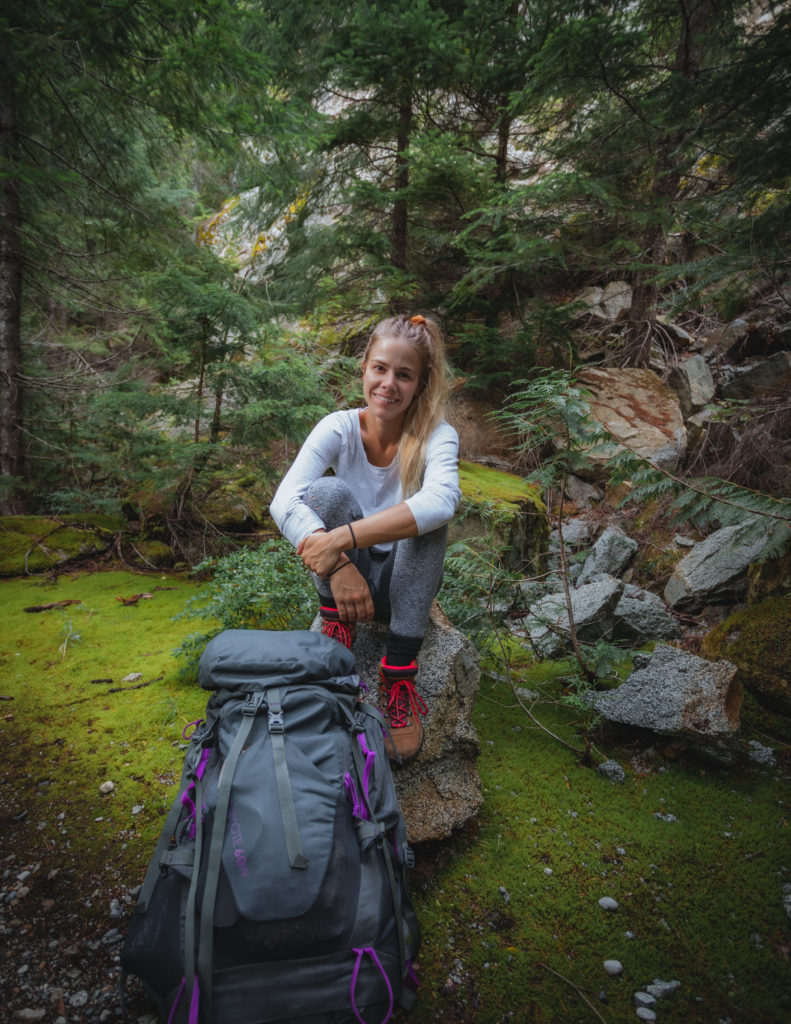
Women’s Kelty Coyote 60L — This pack literally offers every single feature you would need. From the on-body adjustment to the hip belt and back panel, it features incredible comfortability for carrying all that weight. The separate sleeping bag compartment on the bottom makes packing up easy. My favorite part of the pack is how the top converts into a day pack for hikes after setting up camp. I don’t think I’ll ever give another backpack a try because I LOVE this one so much!
Day Pack
Patagonia Chacabuco 28L — While 25L is too small for an overnight backcountry trek, it is the perfect size for those day hikes. The main reason I adore my Kelty Coyote 60L is because of the top converting into a day pack so I can go off and explore after setting up camp. For those shorter day hikes, a 60L pack may be a little too much so my go-to is the Patagonia Chacabuco 28L. It has those ergonomic shoulder straps for comfort, a large main compartment for my camera, extra clothing & snacks and a sleeve for my water bladder.
Shelter / Sleeping / Comfortability
Probably the most important pieces of your backcountry gear are your shelter and sleeping products as they literally act as your home away from home. Critical factors to consider while choosing these products are the comfortability, water resistance and, most importantly, WEIGHT! As with most backcountry gear, the lighter the products the more expensive they are.
Tent
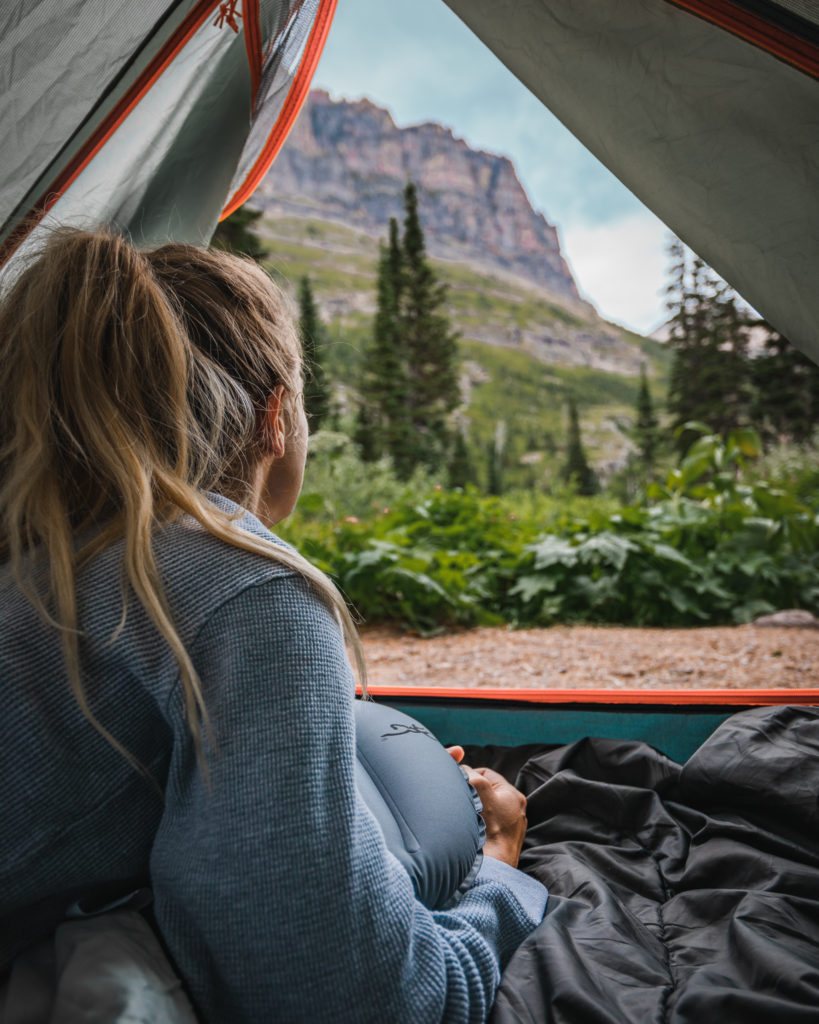
Big Agnes Copper Spur HV UL2 — Big Agnes is known for creating some of the best backpacking gear around. This tent is the optimal choice for backpacking with its two doors and extra compartments inside for storage. Rain resistant and weighing in at less than a whopping 3 POUNDS, this tent is ranked in the top of the market for offering the lightest shelter without sacrificing any space. If you want to store your gear in your tent and expecting there to be 2 people, I would recommend getting the Big Agnes Copper Spur HV UL3 instead. Don’t forget the footprint to go along with it!
Important to note when deciding on a tent: One person tents are more lightweight but that will sometimes require you to store your gear by hanging it in a tree with ropes. The same goes for 2 person tents so be sure you know the dimensions before buying! Our tent gives us enough storage space to have our packs at our feet while sleeping.
Sleeping Bag
Big Agnes Women’s Sidney SL — This sleeping bag was bought on a whim before my first backcountry trip and it’s turned out to be the best decision I’ve made. Weighing only 2.2 pounds and keeping you warm in temps as cold as 25F, the DownTek material compresses well and insulates while wet.
Sleeping Pad
Big Agnes Insulated Air Core Ultra — For that optimal comfort for sleeping, check out this extra-light sleeping pad from Big Agnes. The insulation allows warmth to stay away from the cold ground and is my go-to for nights in the backcountry. I use the petite size, weighing in at just over 1 pound.
Hammock
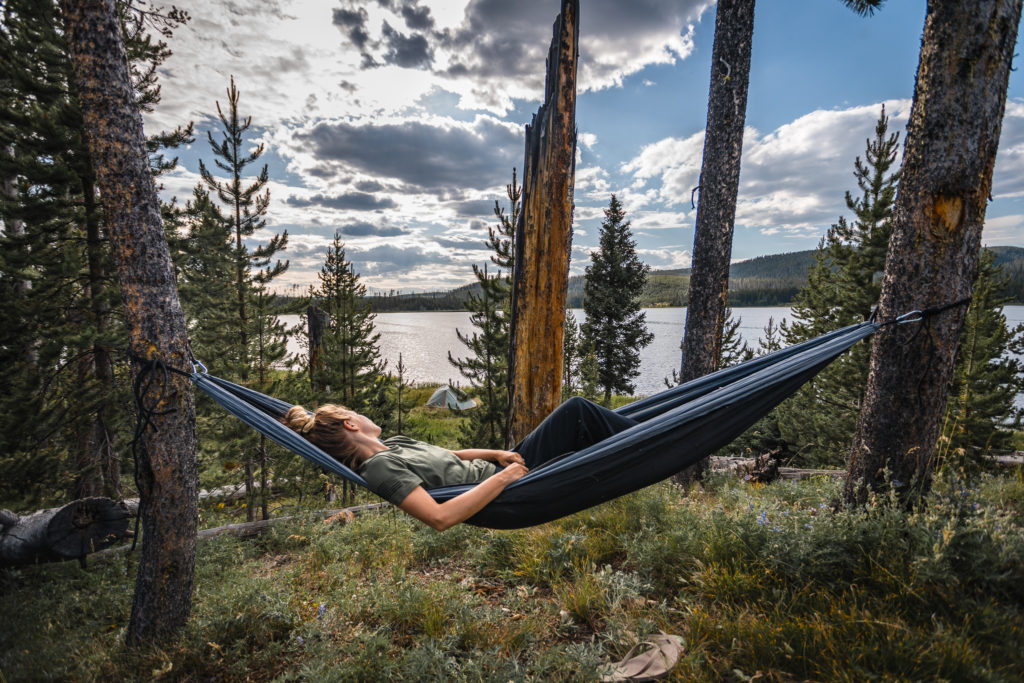
ENO Double Nest Hammock — My favorite moments in the backcountry have been lying in a hammock and listening to the complete stillness of the nature around me. This hammock is so comfortable, you can even fit 2 people in it! Packing down to the size of an orange and weighing in at just over a pound, it’s the perfect luxury item to add in your pack. Don’t forget the hammock suspension system to make tying it up easier (and can also double as your ropes to hang your food in the tree!)
Pillow
Sea to Summit Aeros Premium Pillow — I think this is definitely one of those luxury comfort items that isn’t a necessity to your backcountry gear but it’s so lightweight at 4 small ounces I threw it in my pack. You’ll be thankful when you don’t have to use a rock to lay your head on!
Chair
Helinox Chair Zero — This was actually the one item of gear we splurged on after spending 2 weeks in the backcountry. We found it hard to find comfortable places to sit while eating or hanging out at camp, especially after a 10 mile hike with a wet and muddy ground. After that experience, we sucked it up and invested in one of these babies… and I’m SO GLAD we did! Weighing in at less than one pound, this ultra-light chair contorts down to the size of a water bottle. I don’t think we’ll ever endure the backcountry again without it!
Food & Water Gear
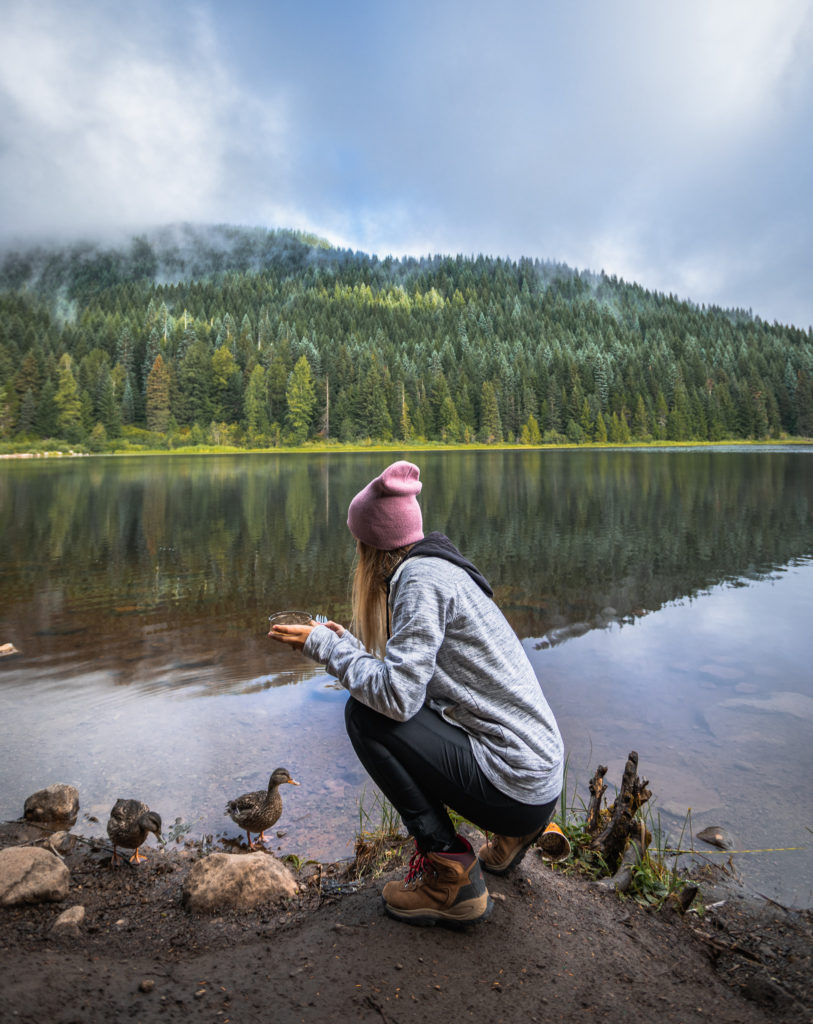
First and foremost, how you cook and what you cook in the backcountry is completely up to you. The types of utensils, meals and filtering systems will literally come down to your personal preference. It took us a couple of trips in the backcountry to learn what we liked and didn’t like so here are my recommendations:
Stove
JetBoil Flash Cooking System — This is my go-to for cooking in the backcountry. It can boil 16 ounces of water in under 3 minutes and is ultra-lightweight at less than 1 pound! The JetBoil is optimal for dehydrated meals that only require water; it does not double as a pot so you can’t cook food inside of it. To cook our meals, we use Freezer Bags to put our dehydrated meals into then pour the boiling water inside, seal it up and within minutes it’s ready to eat.
MSR Pocket Rocket 2 — My brother swears by this lightweight stove option and, weighing in at only 2 ounces, I can see why. This gives you many more options for meal-choices as you can cook anything you want in the pot that you’ll have to buy with it. That’s the only downfall of the Pocket Rocket is that you’ll also need a pot or pan to cook with, adding to the weight in your pack. This 2.5L MSR Ceramic Pot seems like the best option!
Don’t forget your Isobutane-propane tanks! They can be found at any outdoor store and you’ll get, on average, 25 uses out of each. We use the JetBoil brand of tank for our cooking system. COLEMAN brand tanks DO NOT WORK for the MSR!
Be sure to recycle your containers back to the store when they’re empty.
Utensils
UCO Utility Spork — This spork is now my go-to utensil after trying 2 other brands. What I love about it is the light weight and how it’s 3 utensils in one with the fork, spoon and an area to slice things like fruit. The first 2 utensil sets I tried before this one were metal and collapsible. While those sound like the better option, leftover food kept getting stuck in the hinges and the metal never cooled down, making it hard to eat hot meals in a timely manner.
Sea to Summit X Bowl — These bowls came as a recommendation from my brother and I’ll never use any others. Lightweight and collapsible, they’re the perfect plates/bowls for the backcountry.
GSI Bugaboo Cup — This lightweight mug is my favorite. We’ve even dropped it 20 feet down a ravine of boulders and it still survived!
United By Blue Ravine Packable Tote — This handy little thing is what I use to pack all of our food into. It contorts down to 2 inches and has an attached carabiner to make hanging the bag easy.
Food
Since everybody has their preferences, it’s hard to recommend what to eat in the backcountry. I am a vegetarian so I mainly stick to my carbs, tuna, nuts and instant oatmeal. Check out the products above to see exactly what type of foods I put in my backpack.
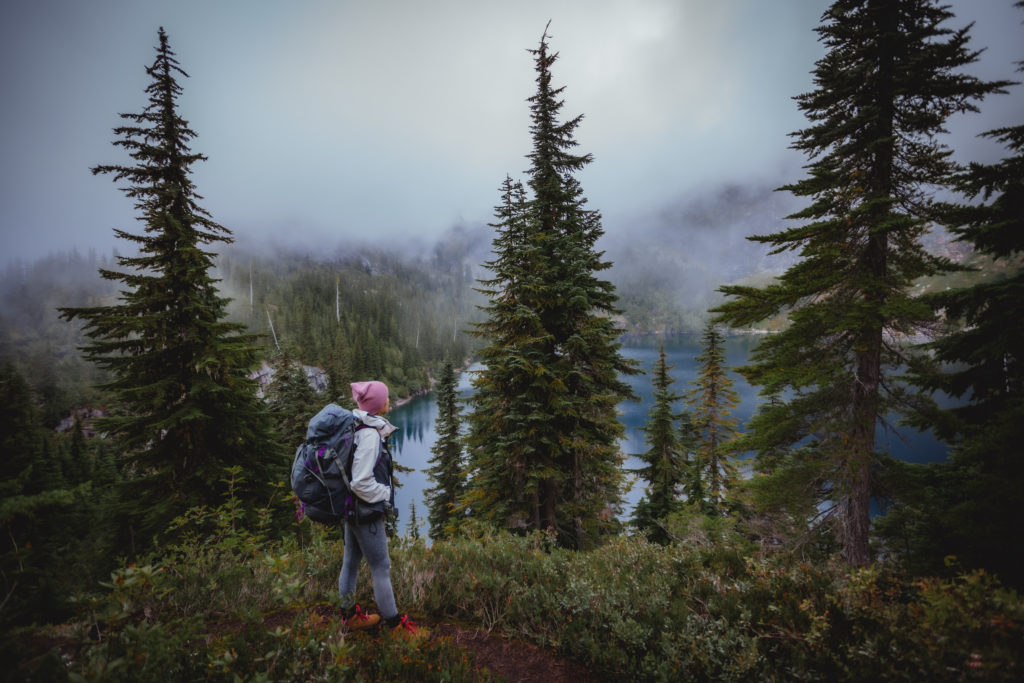
Remember: You must pack out what you pack in! This means any containers, food scraps and packaging must stay with you on your entire journey. Trash cans do not exist in the backcountry so be sure you’re only cooking the exact amount you’ll be eating. Pack items that have a light weight like tuna packages > tuna cans and the paper oatmeal bags > the instant plastic containers.
For snacks, I usually portion out what I think we’ll eat into separate sandwich baggies then use those for trash. I bring approximately 30-40 plies of toilet paper and 10 paper towels for one night away.
Water Purification
It’s imperative that you have some sort of water purification system in your gear while out in the backcountry, beyond relying on boiling. The type of system that you choose to go with can depend on your preferences and where you’re headed on your adventure. The first product on this list is what I bring with me on every excursion but I also have a back-up in case that one fails.
Sawyer Mini Water Filter — My go-to in the backcountry is this handy little thing. Removing nearly 100% of all bacterias and only weighing 2 ounces, it’s the optimal option for filtering your water. It also doubles as a straw so you can drink directly from it as it’s filtering. The LifeStraw is another good option but it acts as just that, a straw, so you’ll also need some containers on the side to store your water.
Katadyn Micropur Purification Tablets — As a backup to my water filtering system, I bring along these purification tablets as a fool-proof way to purify my water. Features of the tablets are similar to those used in municipal water supplies but it can take up to 4 hours to completely remove all bacteria from the water.
Water Containers
Nalgene 48 oz. Bottle — I filter all of my water into a Nalgene, giving me a container to carry water for drinking, cooking and putting out a campfire.
CamelBak Crux Water Reservoir — Also known as a ‘bladder,’ this is my go-to reservoir. Just throw in your pack and line it through the hole for easy-access drinking. These Camelbak’s hold anywhere from 1 to 3 liters of water.
Backcountry Clothing
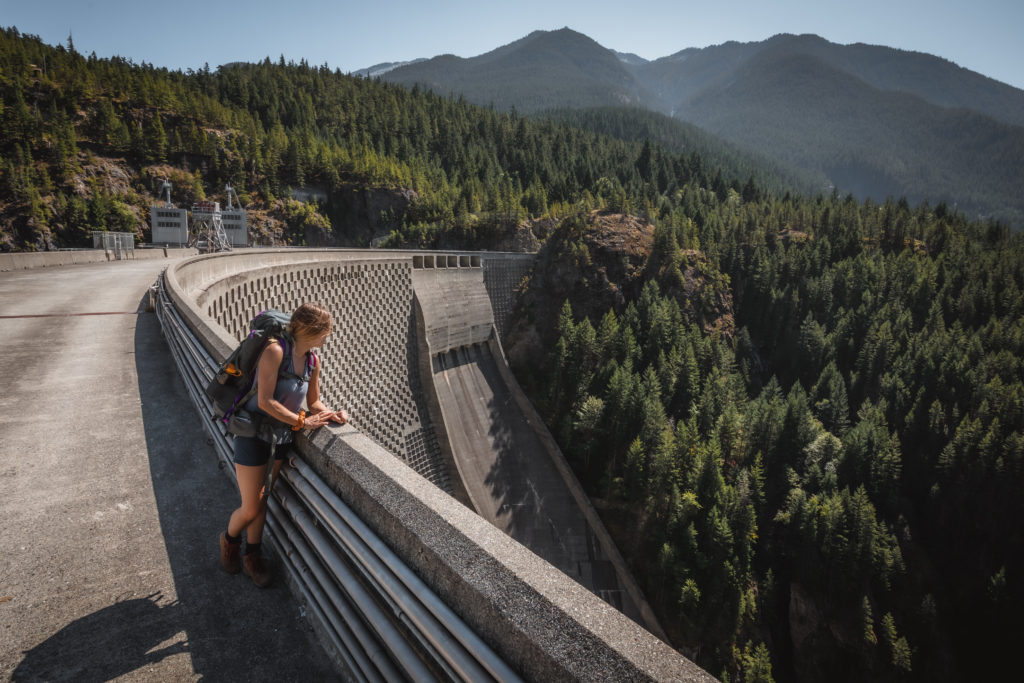
It’s always hard to predict what exactly the weather will be like in the backcountry. I usually pack a base layer, a warmth layer and waterproof gear on top of my normal hiking pants.
Hiking Pants
KUHL Horizn Skinny Pants — I can’t even express enough how much I LOVE these pants! Not only does the fabric have SPF but it’s also so breathable, you hardly even notice you’re sweating. As if they needed an added bonus, there are even zippered pockets on the legs to keep the small things secure.
PrAna Hallena Pants — I adore these flimsy yet waterproof pants because they’re so easy to move in, not to mention have my favorite feature: zippered pockets.
North Face Utility Hybrid Hiker Tights — If you’re a legging lover like me but want something a bit more durable than thin cotton, these are your go-to pants!
Base Layer
Kari Traa Base Layers — By far, my favorite brand for hiking base layers is Kari Traa. Not only are the patterns right up my alley but the Merino wool keeps you warm while also designed with a breathable material.
Odlo Naturals Base Layers — For thinner long-sleeves, t-shirts and the perfect base leggings, I can’t stop wearing the Odlo brand. The Merino wool keeps you warm but also soaks up moisture to keep you dry.
North Face Zip-Neck Top — I take this 3/4 zip light fleece with me everywhere and even wear it as a baselayer for those hikes in chilly weather.
Warmth Layer
Patagonia Down Sweater Jacket — My favorite item in my whole pack! Not only does the down material keep you warm, you can fold this jacket down extra-small allowing for a lightweight and easy carry.
Patagonia Down Sweater Vest — Throw on a base layer underneath and you have all the warmth you need for those chilly nights at camp nestled around a fire.
North Face Apex Chromium Thermal Jacket — With insulated paneling and stacked fleece inside, you’ll never want another thermal jacket after this one!
Waterproof Gear
North Face Venture 2 Rain Jacket — Windproof, waterproof and including all the elements that will keep you dry, this is my go-to waterproof jacket for out in the backcountry.
Marmot PreCip Rain Pants — With full length zips allowing for breathability, these water and wind proof pants are just the thing you need to throw over your bottoms on a wet day.
Footwear
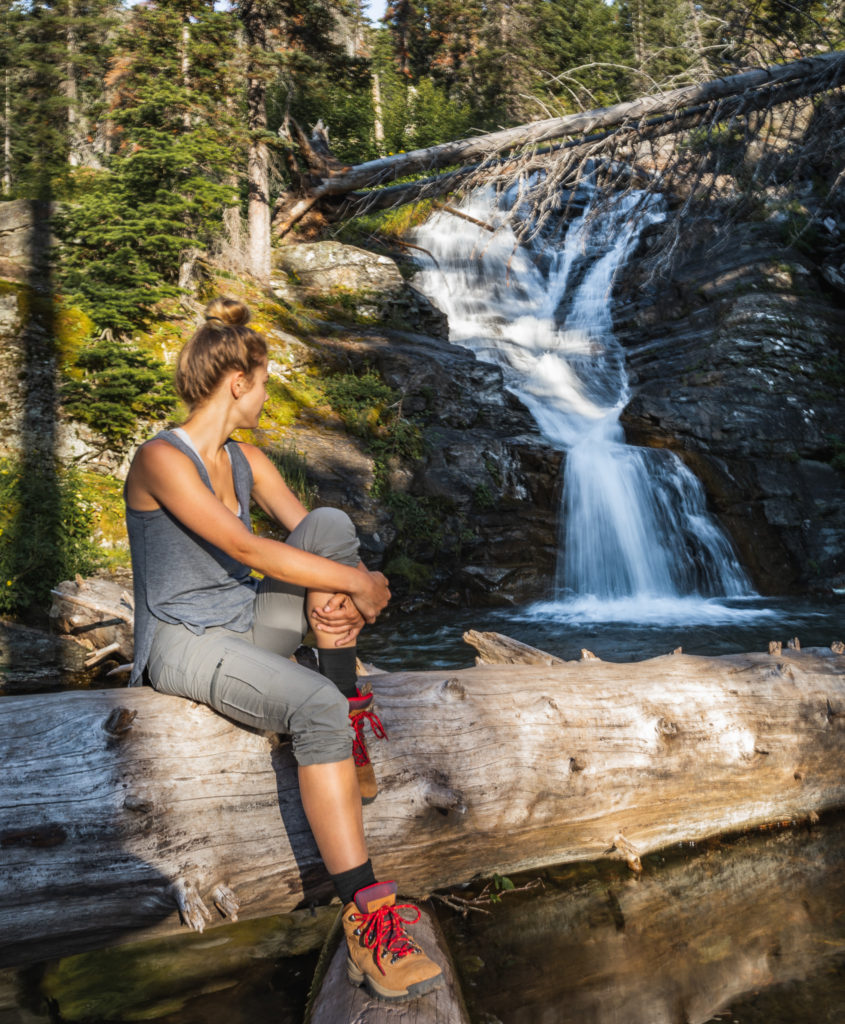
KEEN Targhee II Waterproof Hiking Shoe — When I think of the Keen brand I think of epic water shoes so it’s no surprise their hiking shoes are just as durable and protective against moisture. I trudged through wet soil for miles and within no time my shoes were dry again. The insoles also help keep your feet cushioned and springy on the rugged terrain.
Columbia Newton Ridge Plus Boot — I use these boots for when my ankles need a bit more support. They’re not the greatest in wet conditions, although the grip does pretty well, but they’re the optimal boot for dry hikes.
Vasque Saga GTX Backpacking Boot — On the list of boots I can’t afford but will someday get are these gorgeous babies! The stability around the ankles is alluring, along with the look itself. They’re built for multi-day backcountry treks so you know they’ll be dependable.
Socks are imperative to a healthy hike as they protect your feet from blisters. I always go with a wool sock because it soaks up the sweat more. Darn Tough Hiker Socks are my go-to’s, but I also wear the Smartwool Hiking Socks pretty often!
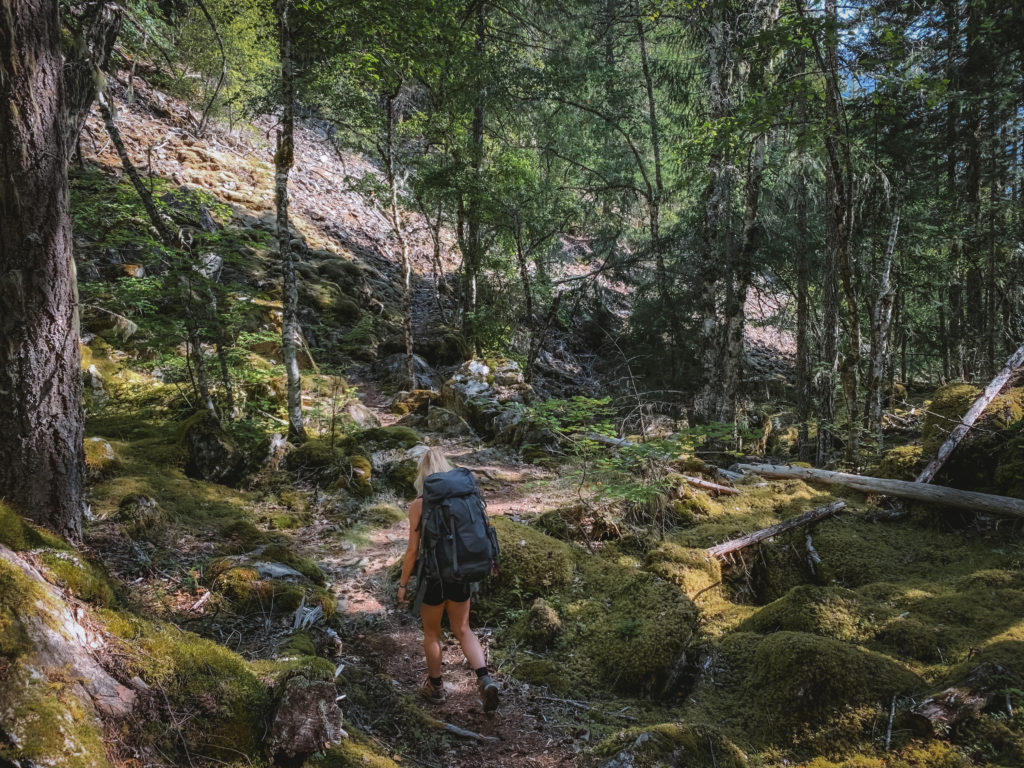
The Essential Backcountry Gear
There are 8 essential items I never go in the backcountry without:
- First Aid & Protection
- Navigation
- Lighting
- Shelter
- Tools
- Fire
- Food & Water
- Extra Clothing
To read more about the 8 Essentials of the Backcountry, click here.
Read More Nature Travel Posts HereBefore heading into the backcountry, it’s imperative that you’re familiar with the “Leave No Trace” principles.
Read More: Leave No Trace: The 7 Rules of the Backcountry
Learn more about Leave No Trace on their website here.
Like this Post? Pin It!

| This post contains affiliate links. At no extra cost to you, if you purchase one of these products I may receive a small commission. This helps me maintain my blog as a free space to you. Check out my Disclaimer for more info.


