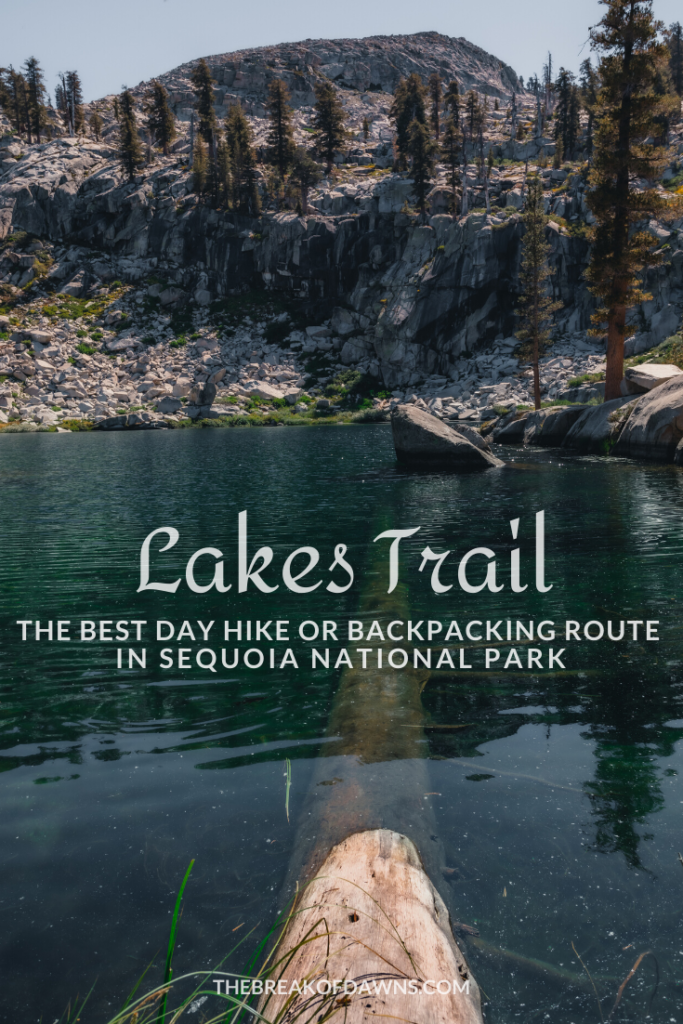
Sequoia National Park is one of the most gorgeous stretches of land on the planet. At an average elevation of over 7000 feet, it’s home to cascading mountain views, giant groves of trees and some of the best hikes in the Sierra Nevada’s. With over 40 routes and a lack of hiking maps, finding the best hike in Sequoia National Park isn’t an easy task but I’m here to show you the holy grail of all Sequoia day treks, the Lakes Trail.
Lakes Trail – The Best Hike in Sequoia
The Lakes Trail is the best day hike in Sequoia National Park that features 4 different alpine lakes within 6 miles. Rated as difficult for its length and elevation gain, we clocked in 13 miles while climbing more than +3100 feet in about 5.5 hours.
Be sure to remove food and scented items from your vehicle and place them in the locked bear boxes at the trailhead. When hiking the Lakes Trail, follow the Leave No Trace principles, like pack it in/pack it out and staying on trail. Don’t forget your necessary hiking essentials for the trek.
Check the Sequoia NPS website here for current conditions/alerts for the park!
Overnight Backpacking the Lakes Trail
The Lakes Trail is considered the most popular backpacking route in Sequoia because it’s the only trail that doesn’t require a reservation for permits. Acting on a first-come-first-serve basis, you can snag a permit at the Lodgepole Visitor Center the day before or day of the hike. If visiting outside of the permit season (end of September – late May), you can self-issue a permit at a visitor center.
Since camping is prohibited at Heather Lake (the first on the trail), you’ll have to continue to Emerald Lake for a site. This area fills up quickly so consider hiking the extra mile uphill to Pear Lake for a little more peace and quiet.
For more information on overnight wilderness permits in Sequoia NP, click here
Day Hiking the Sequoia Lakes Trail
Distance: 13 Miles
Type: Out & Back
Elevation Gain: +3,136 Feet
Best Time to Hike: July – October
Features: Alpine Lakes, Wildlife, Overnight Backpacking Options
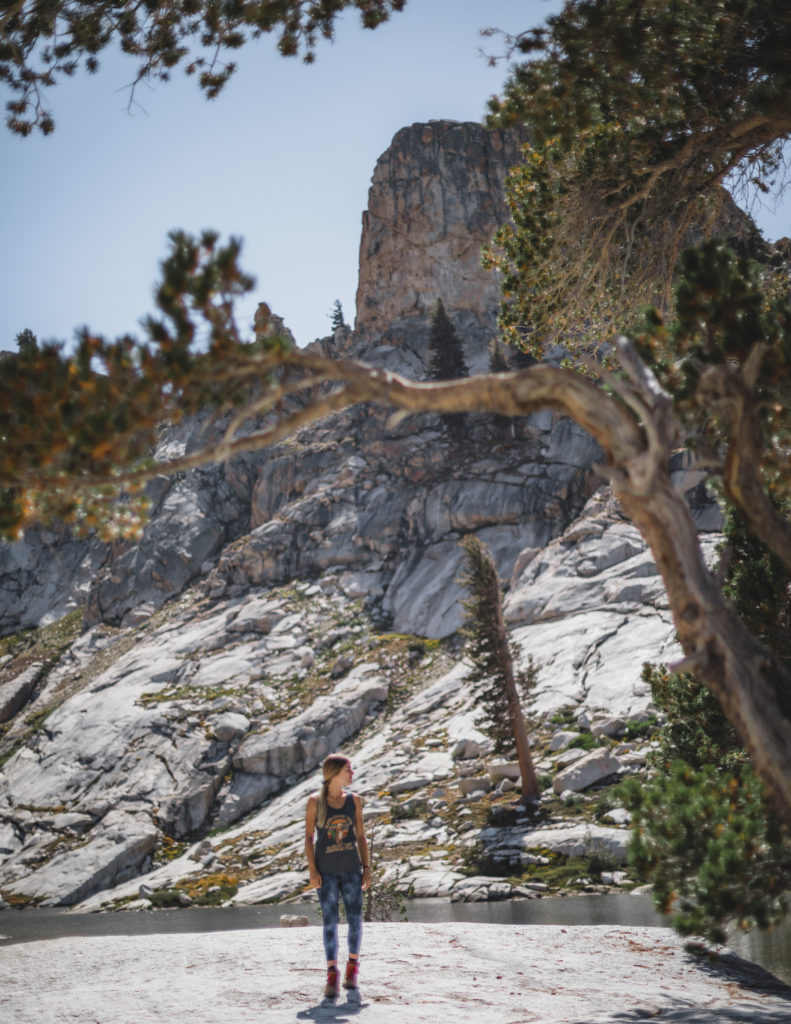
Getting to the Lakes Trailhead
To access the trailhead, park in the northeast side of the parking lot to the Wolverton picnic area (directions to the trail here).
Looking for other things to see in do in Sequoia? Check out my blog post here!
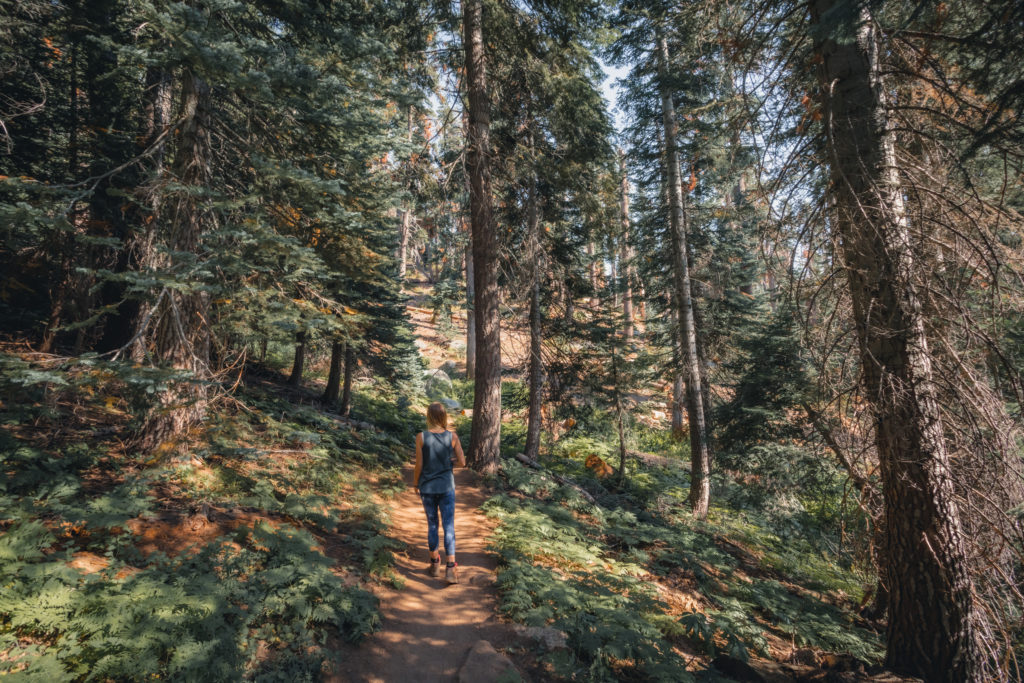
The Beginning of the Lakes Trail
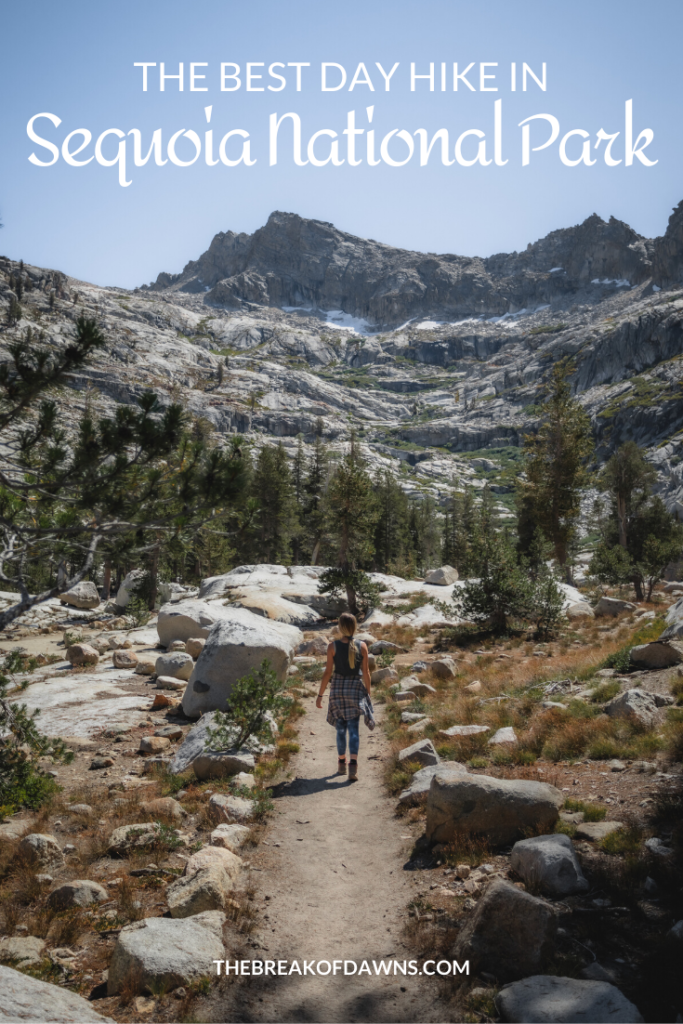
The Lakes Trail begins with a series of switchbacks through a typical Sequoia forest, shining beauty around every corner with its massive trees blocking the sunlight from above. Within a mile of being on the trail, we witnessed a black bear on the ridge above us, only interested in his scavenger duties. By the time I wrestled my camera out of my bag, he was out of sight.
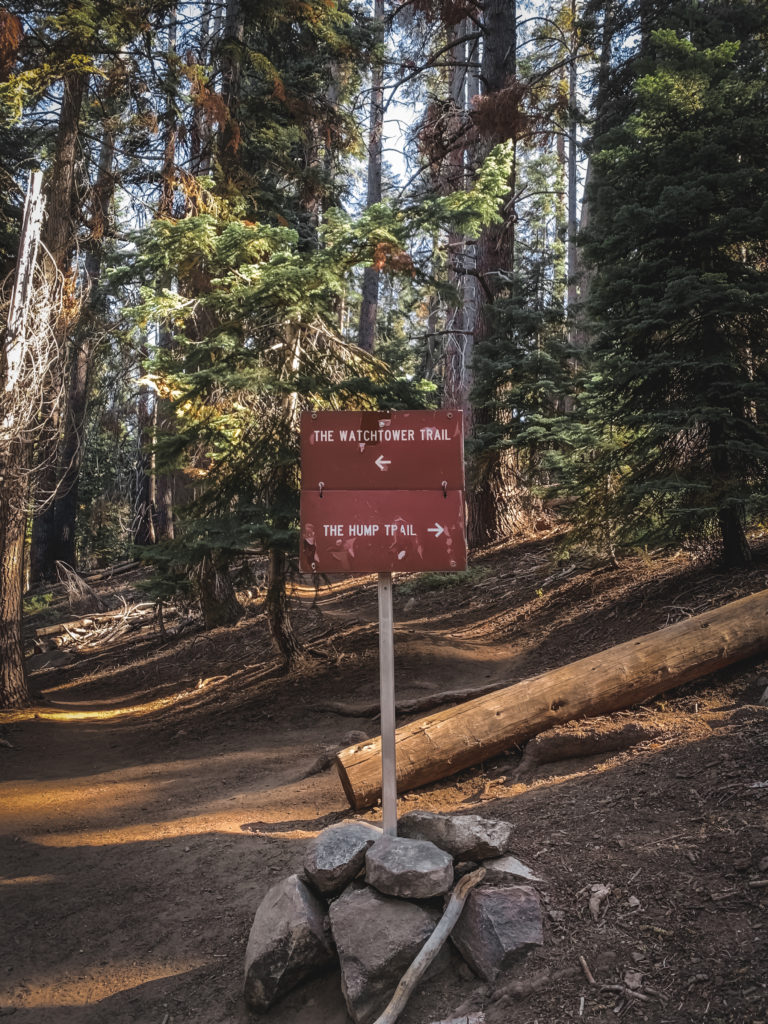
Within about 2 miles, we reach a fork with 2 different route options:
Watchtower Trail: If you take a left, you’ll be hiking along the Watchtower Trail. This direction adds 0.4 miles to your hike but the views will make it worth it. If you’re afraid of heights in any way, I wouldn’t recommend this route. While both trail options climb in elevation, the Watchtower Trail is more gradual and easier on the calves. The Watchtower Trail is closed in the winter due to hazards from snow and ice.
Hump Trail: The Hump Trail mainly sticks to the forest and lacks in views. If you’re afraid of heights, this is the trail you should take to the lakes. The elevation gain is quicker on the Hump Trail, making it harder on the legs. This direction is the only option to take to the Lakes during winter.
Read about another one of my favorite hikes in Sequoia here!
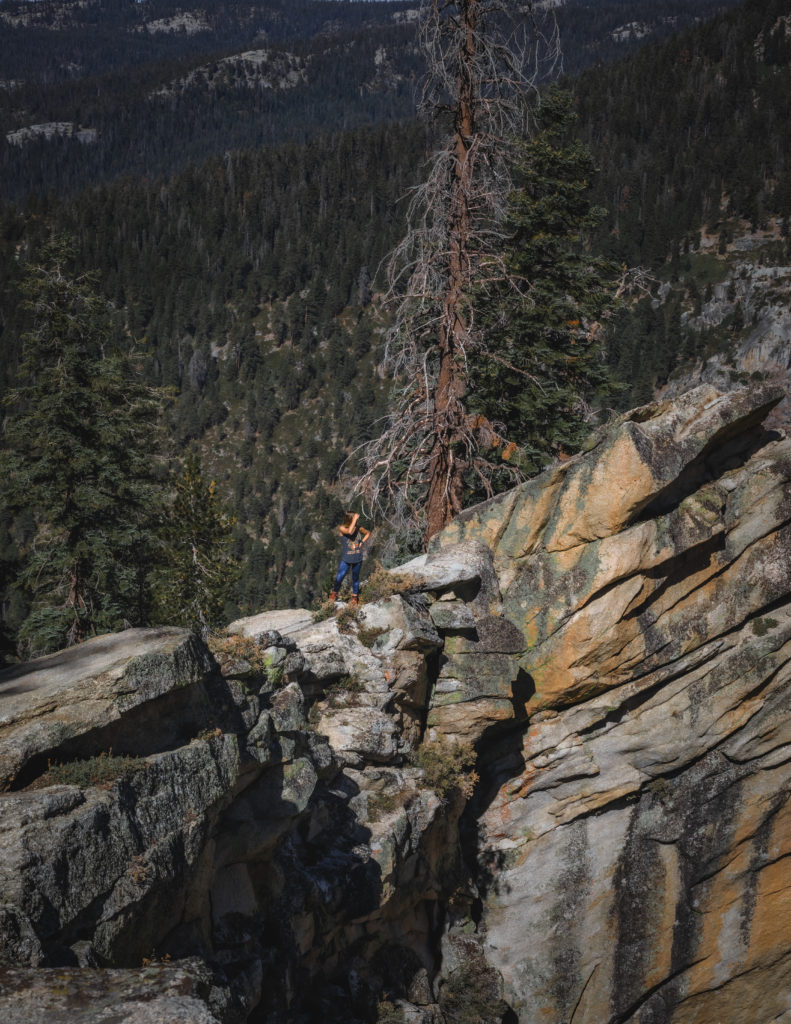
The Watchtower Route
Since I was seeking those dramatic views, we choose to head left on the Watchtower Trail. Continuing on for another mile through the forest, the trees begin to open up and the alpine environment takes hold with the image of the Watchtower.
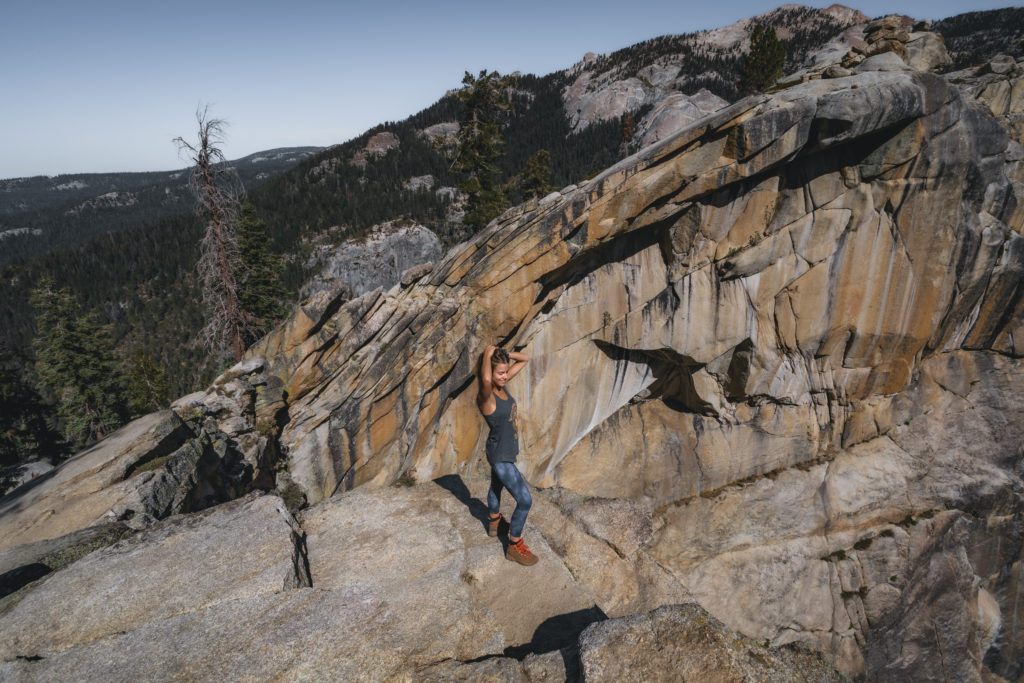
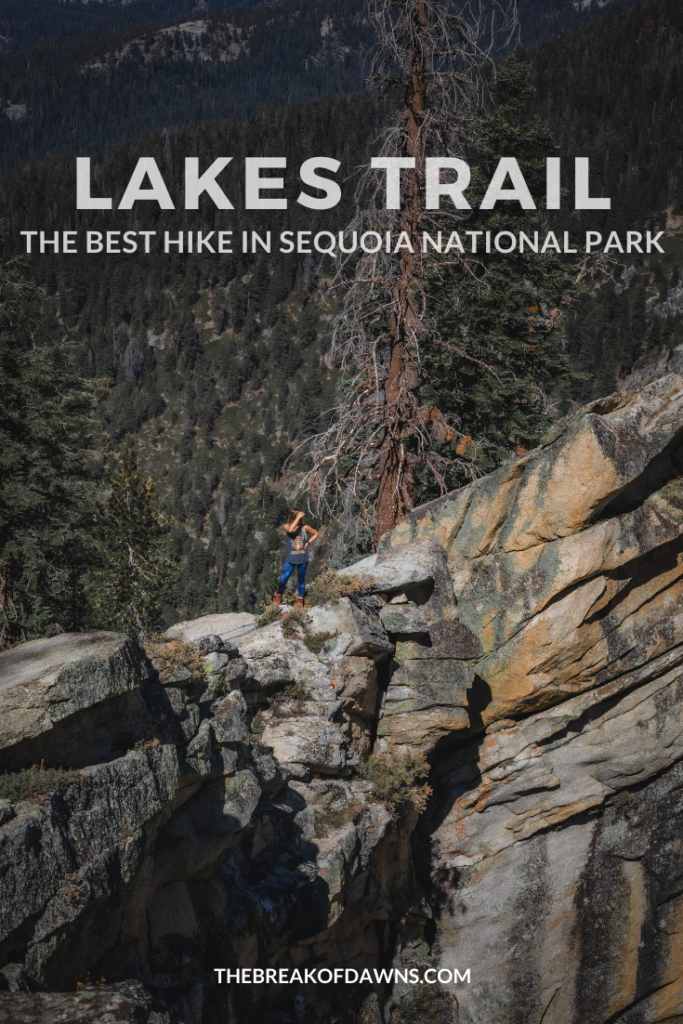
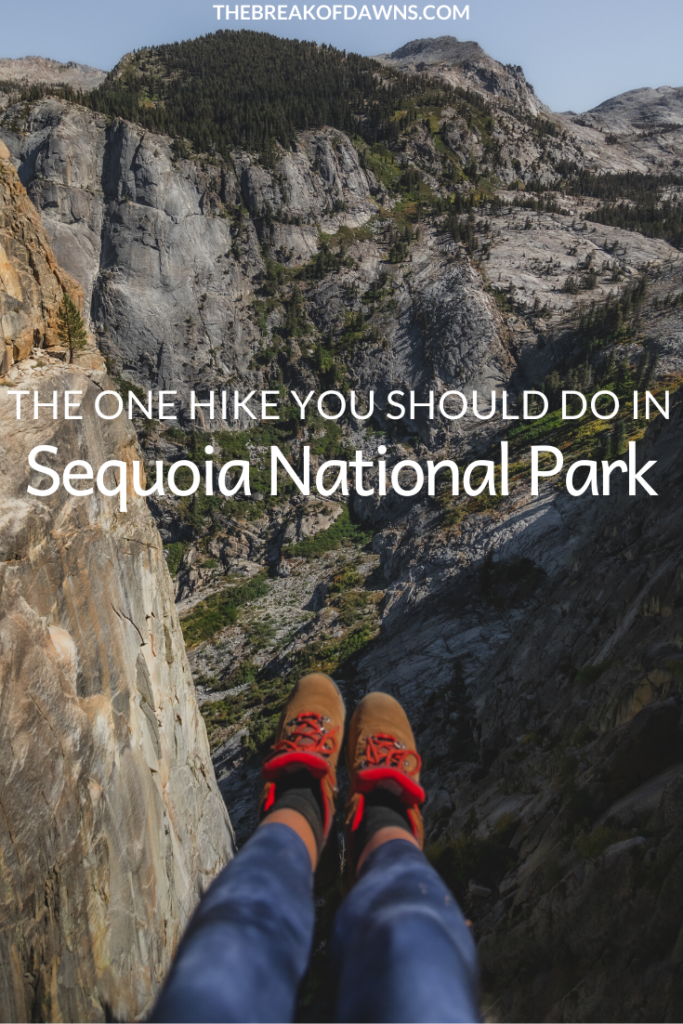
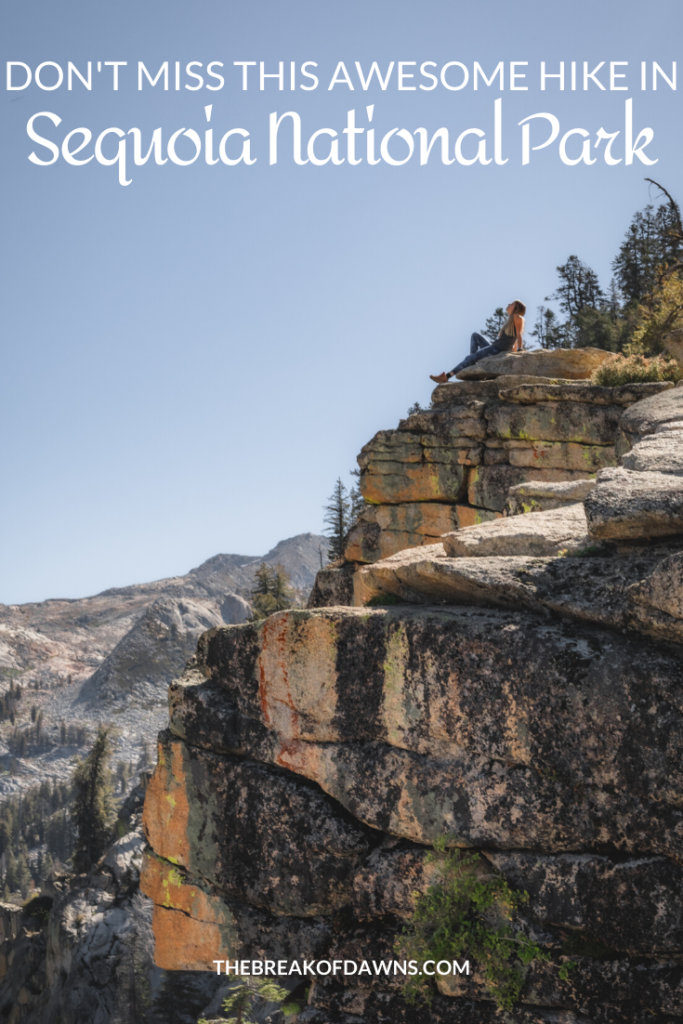
The Watchtower is the massive spine of rock that juts out and upwards into the sky. Walking around the edge of the cliffs and at the base of the Watchtower, the sheer drop off below instantly sends that tingly-feeling throughout my body. This is what I hike for.
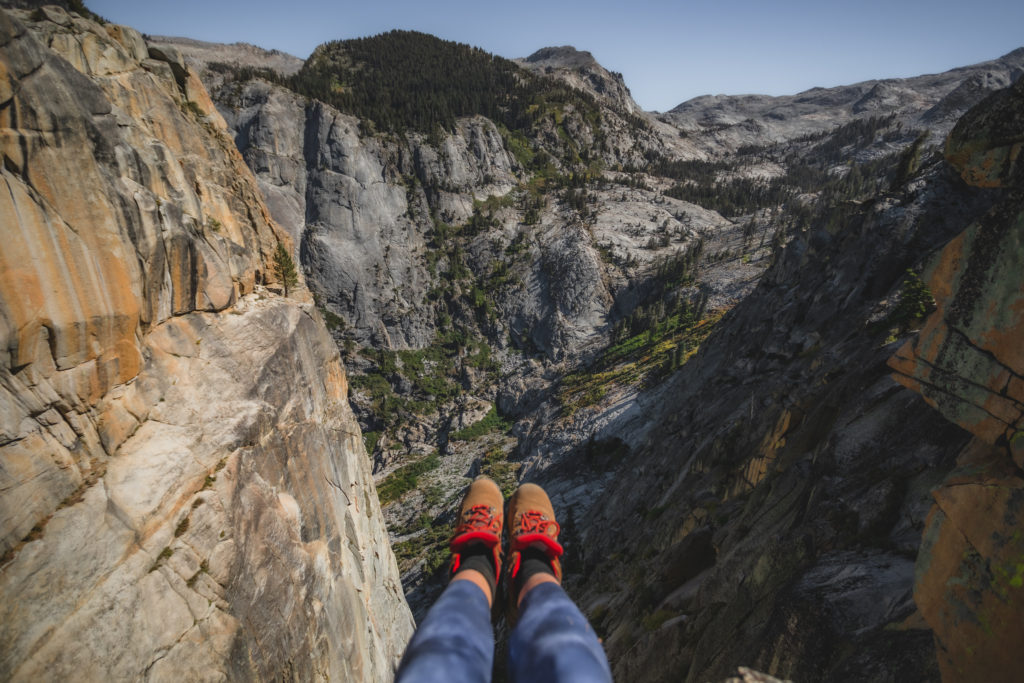
Continuing east and up the ridge is the most exposed portion of the trail. The foot route narrows in and hugs the cliffside tighter while never straying away from the vast mountainous scenery.
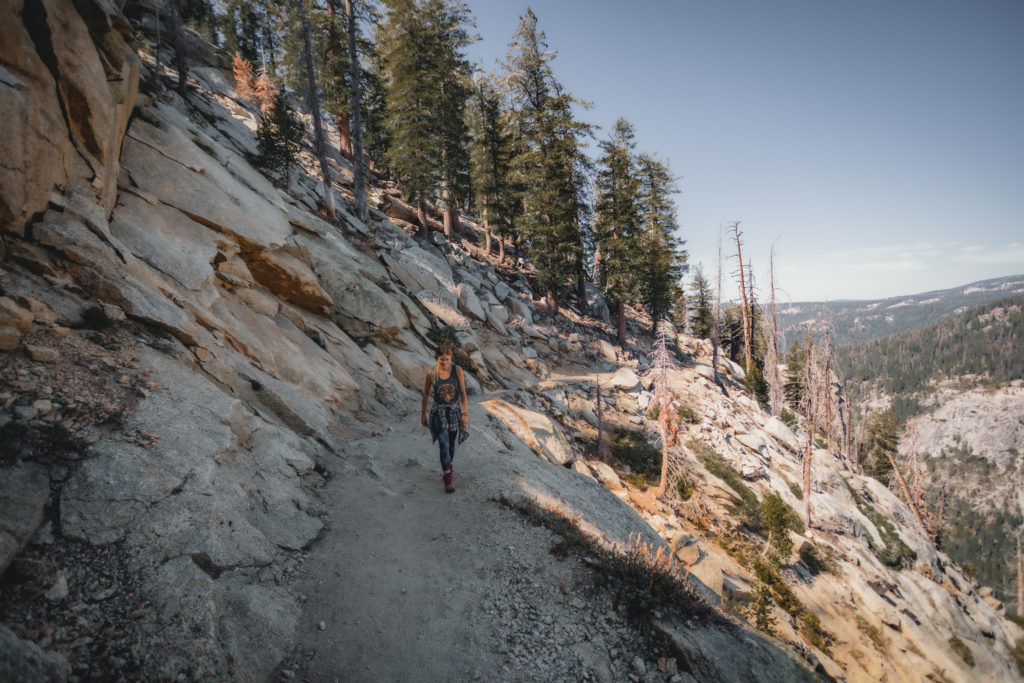
The Lakes on the Trail
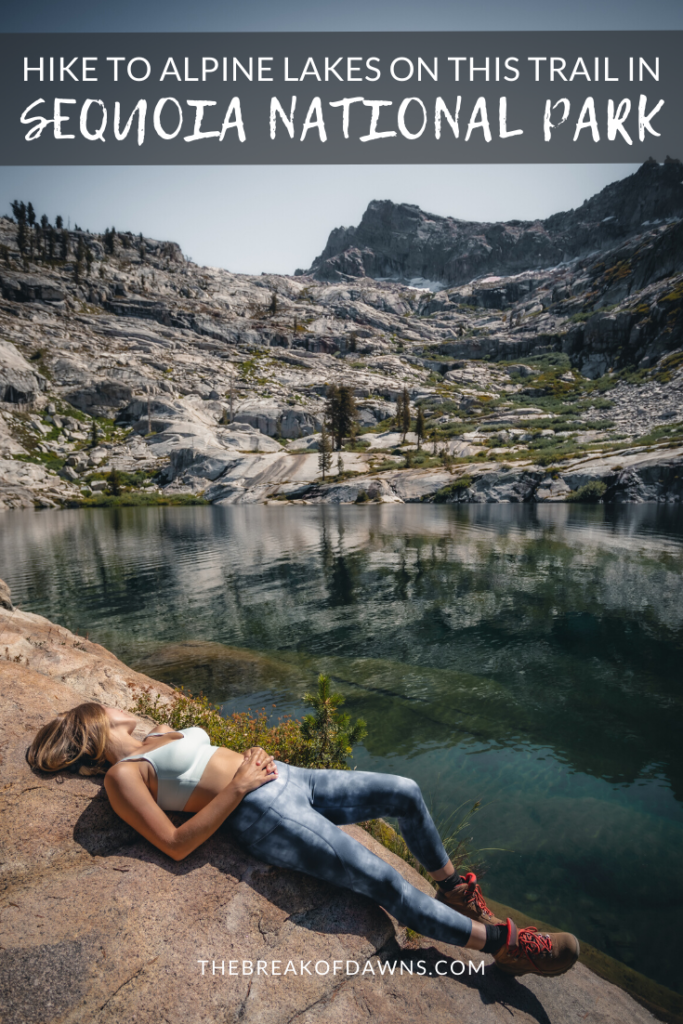
Within a mile, the Watchtower Trail descends into a meadow with Heather Lake as the next destination. By the time we reach the lake at 9,265′ above sea level, we’ve already climbed over 2000′ in elevation.
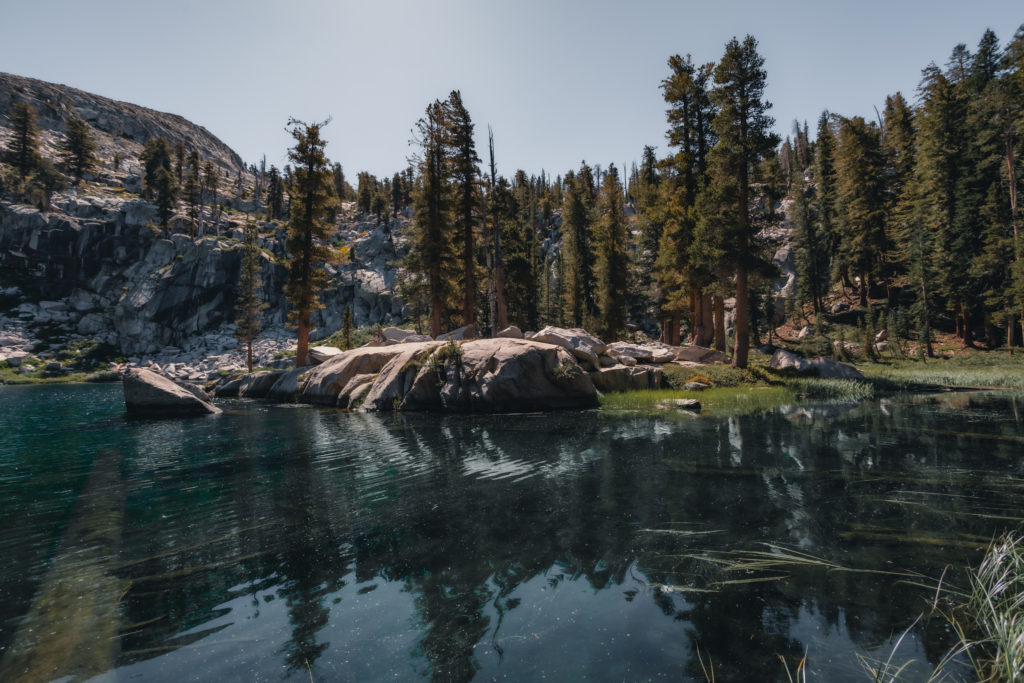
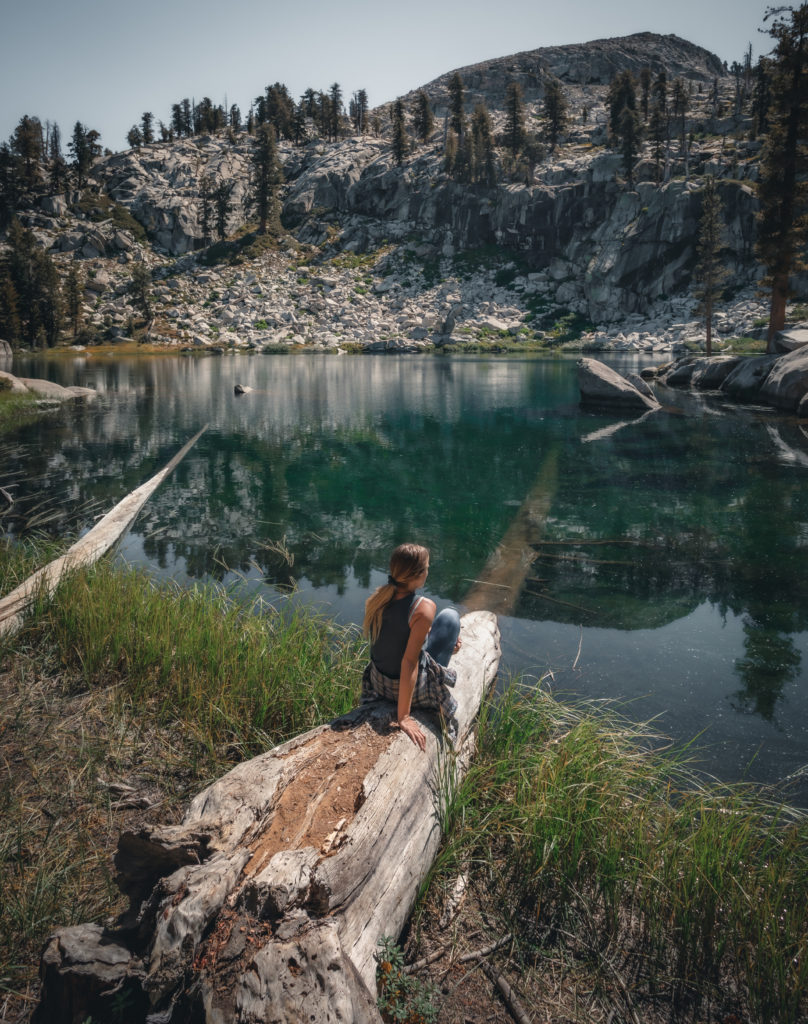
Be careful walking around the banks of Heather Lake; the meadow is very fragile and may take years to recover from foot traffic. We follow the trail on top of the granite rocks and make it to a perfect spot for relaxing.
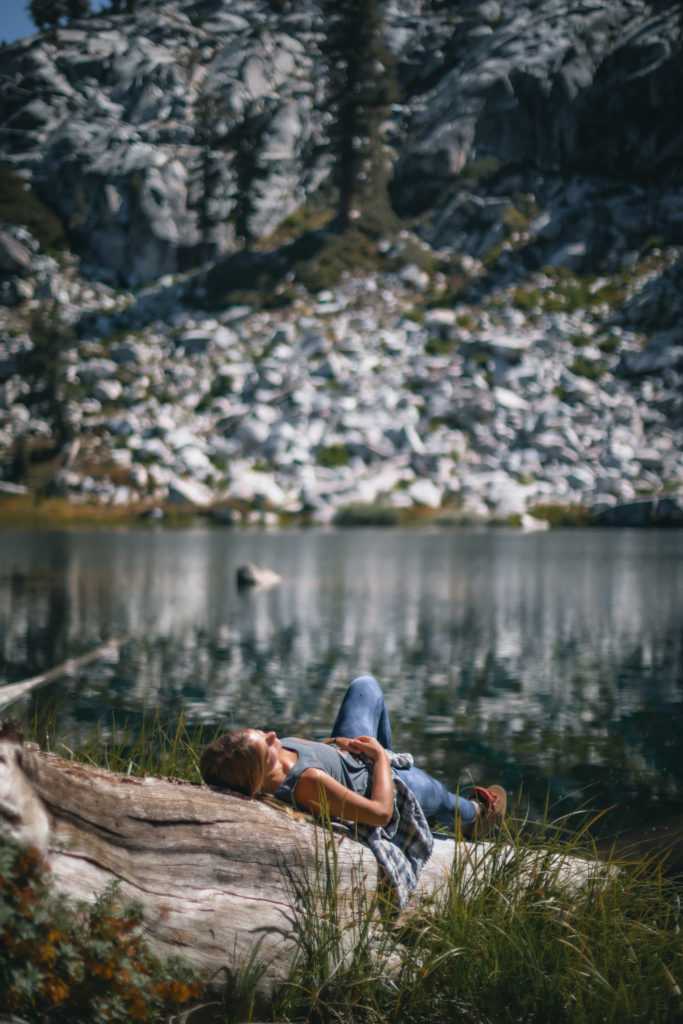
Although that teal blue water is a welcoming sight after that elevated climb, we can’t stop for long… on to Emerald Lake!
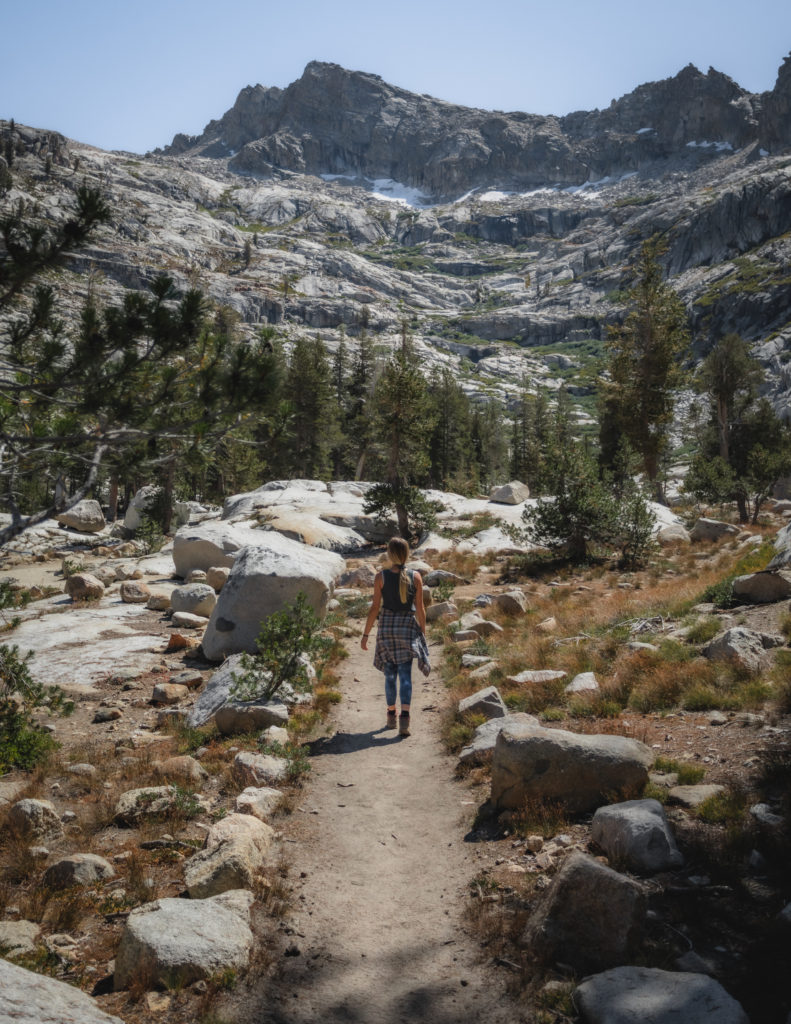
Aster & Emerald Lake
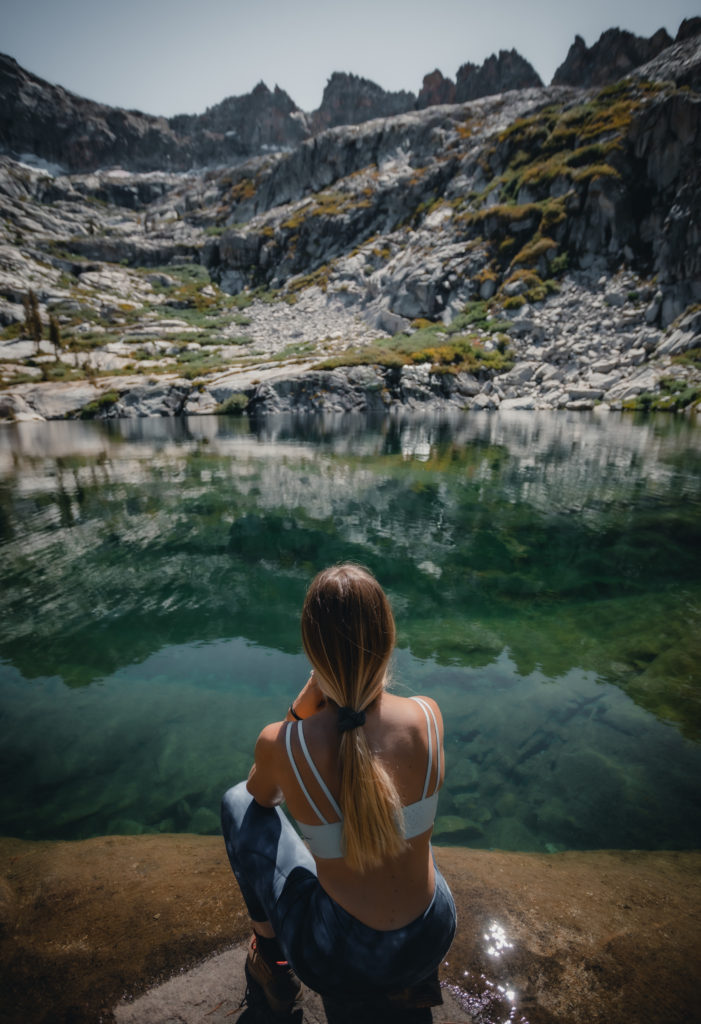
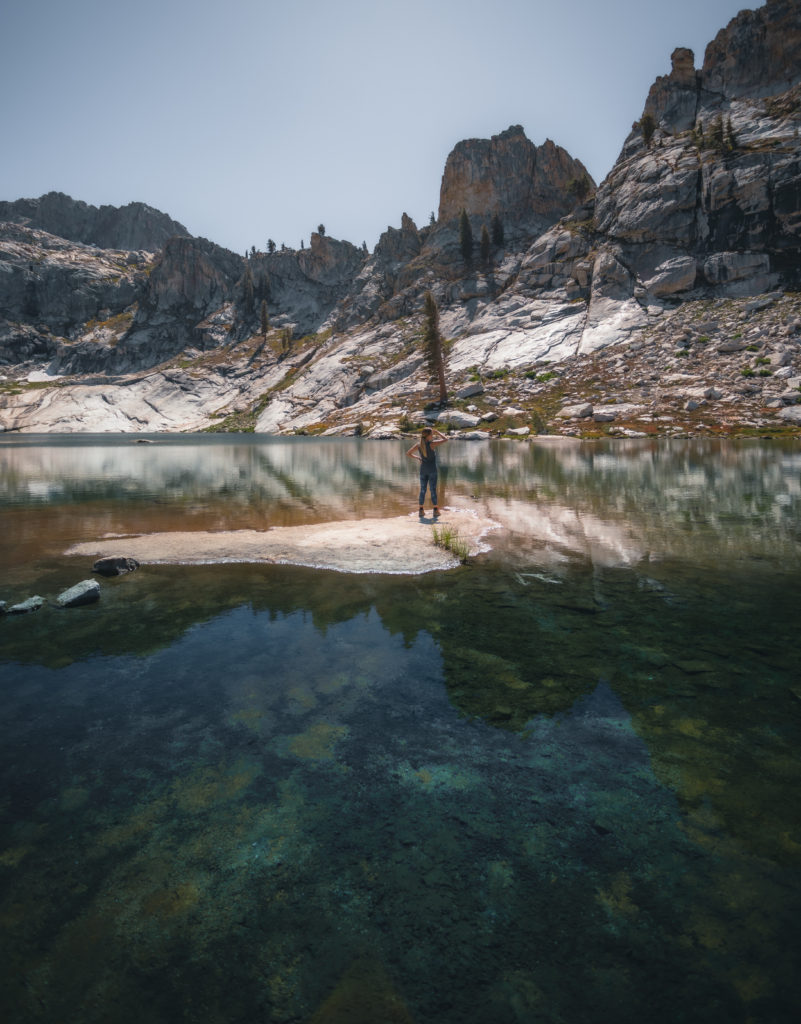
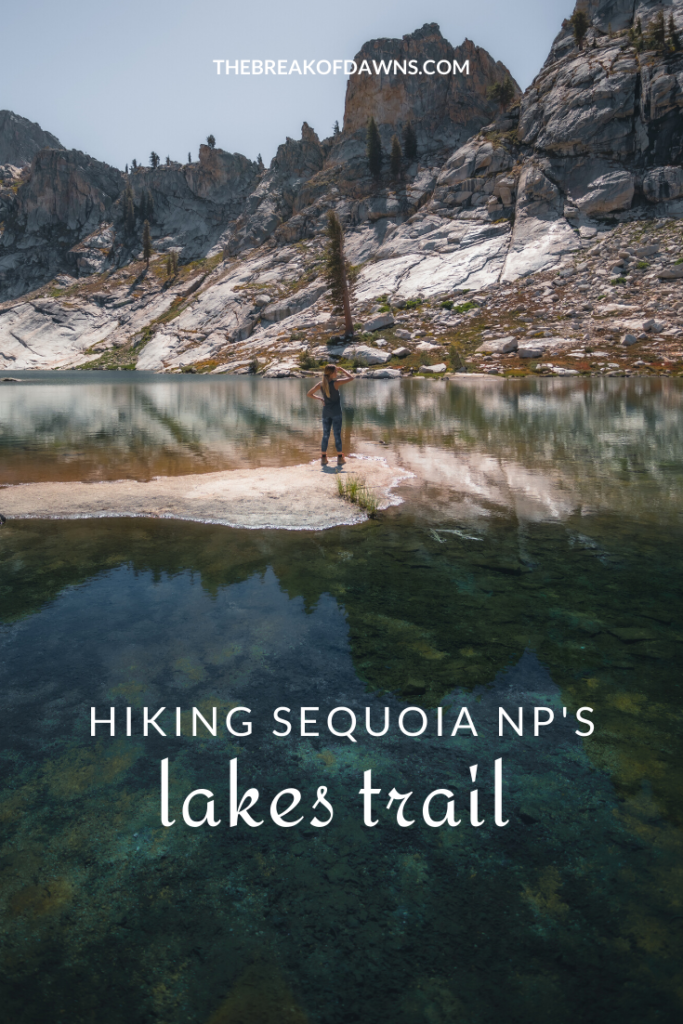
It only takes about a mile to reach Emerald Lake from Heather Lake and, in my opinion, the views on this part of the trail are arguably the best. At around 5 miles in to our hike, we can see the deep blue water of Aster Lake shimmering off in the distance.
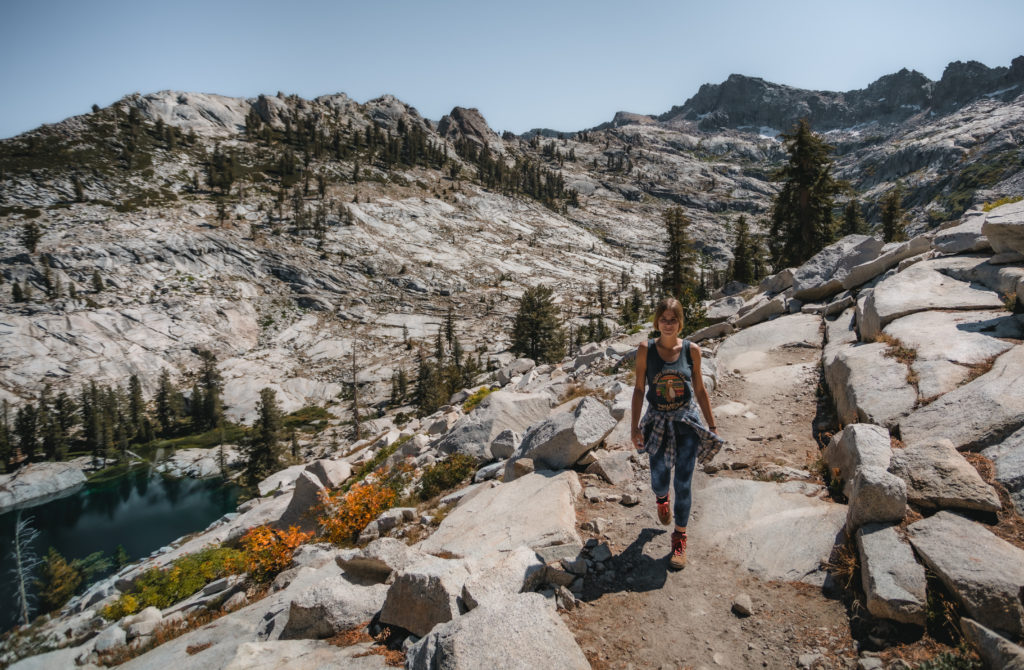
The granite cliffs of the mountains begin to take shape as we close in our next lake. Before reaching the banks of the water, we pass by vibrant grasses complemented by streams reflecting the mountains above.
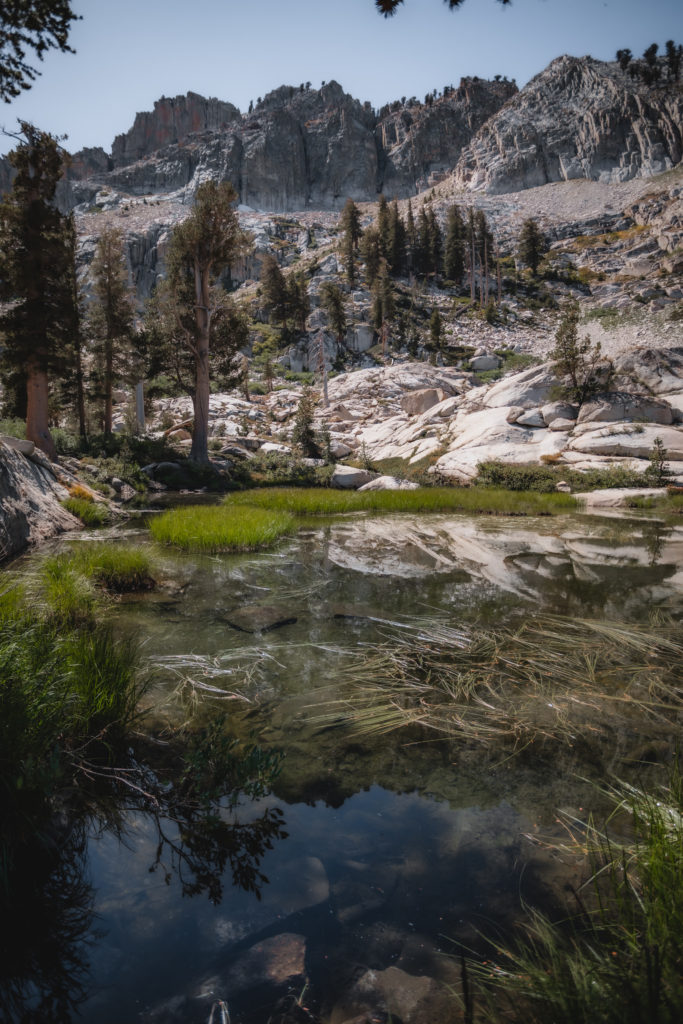
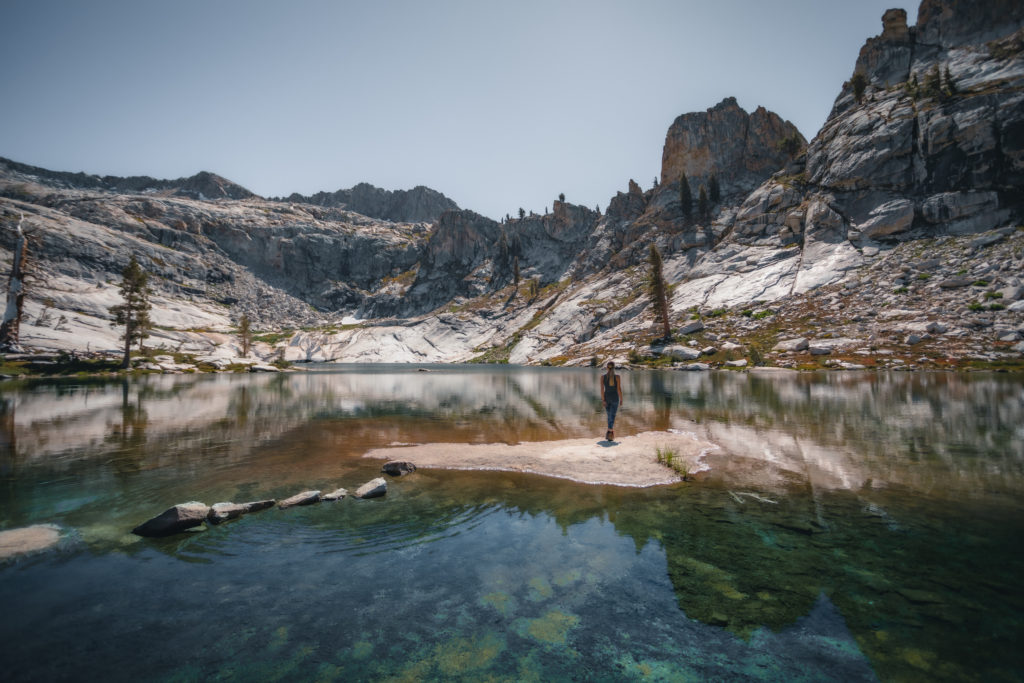
At 5.5 miles in on our trek, we meet the banks of the stunning Emerald Lake at 9,229′ above sea level. And what a sight it is.
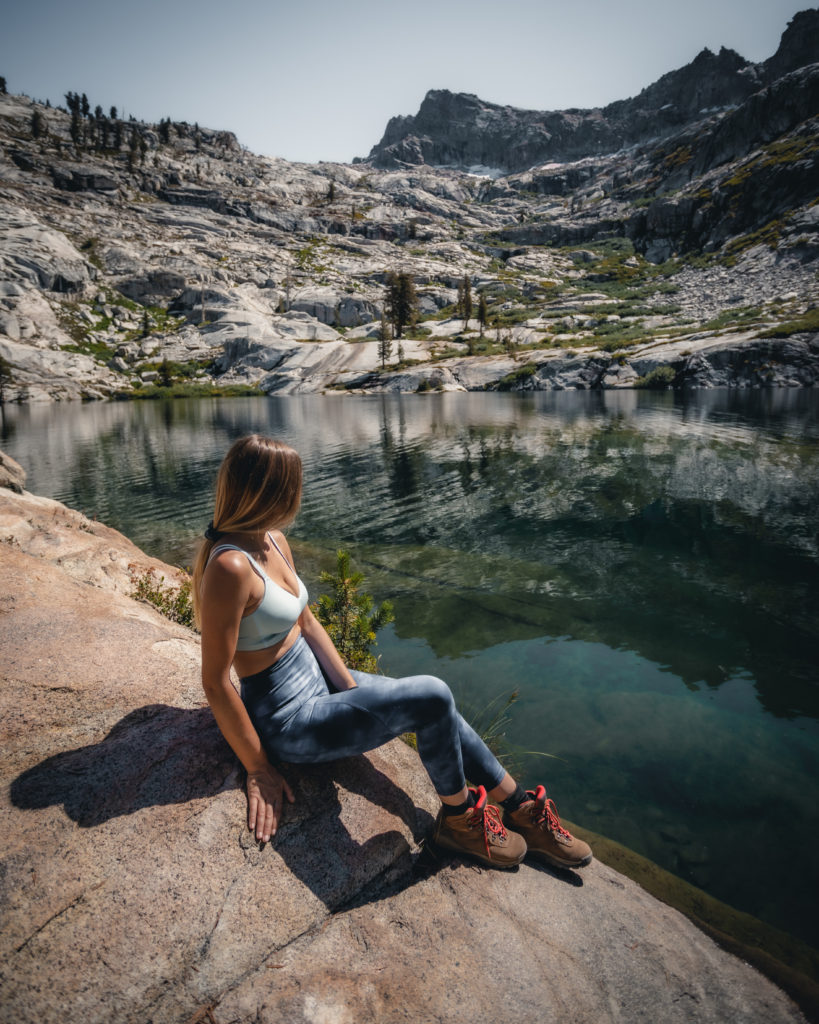
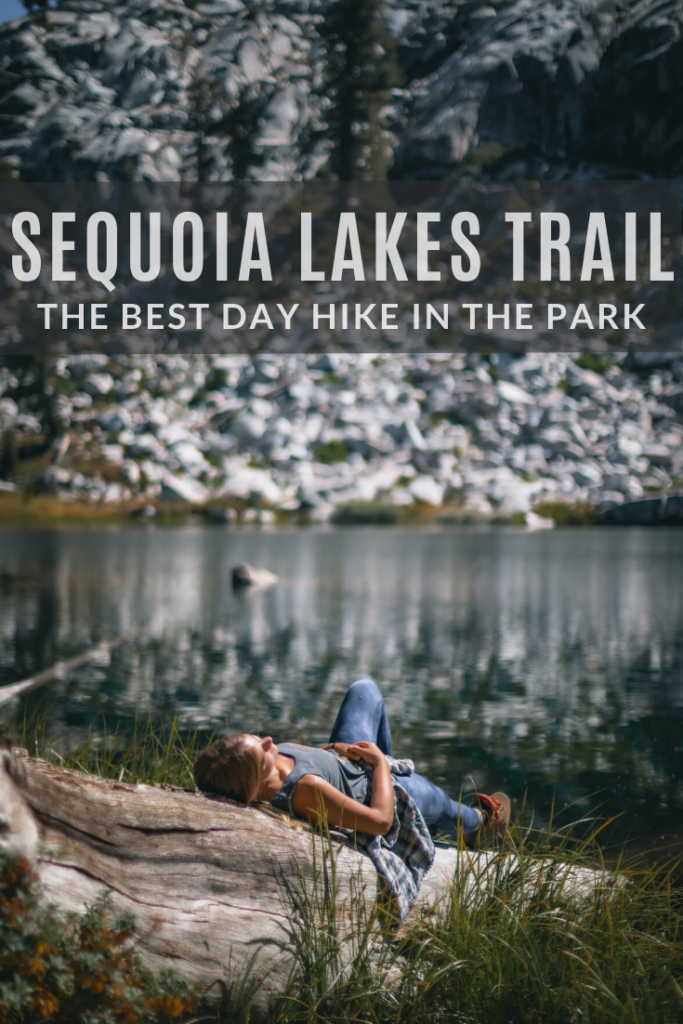
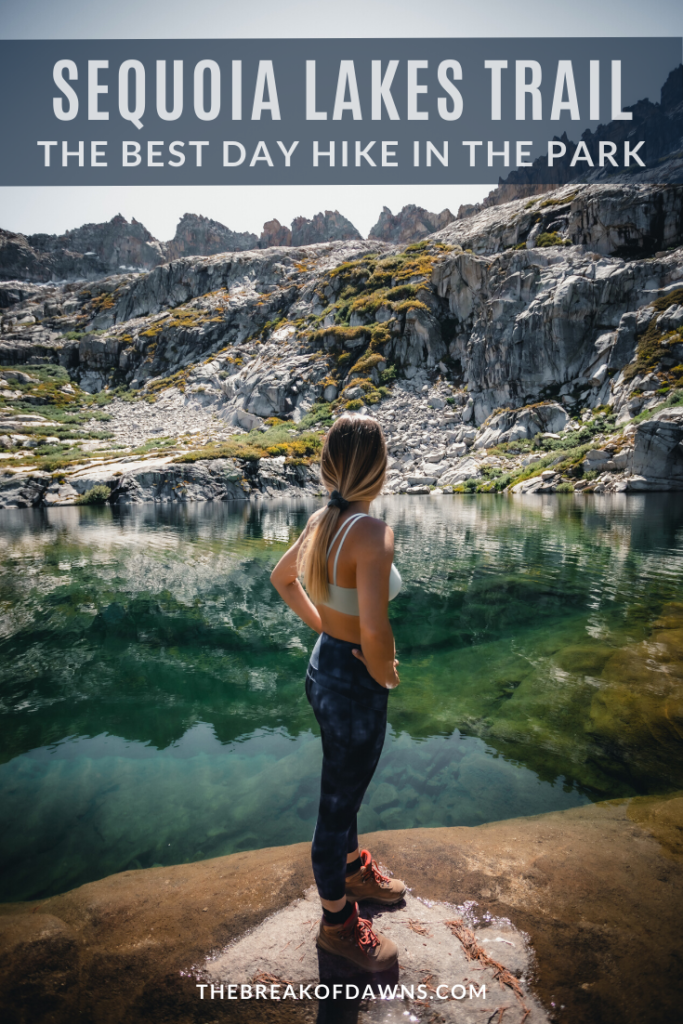
Emerald Lake is my favorite lake of those along this trail. The water appears to be more transparent with a richer color, all held together by the bowl-shaped mountains. Take advantage of the pit toilets here before we head off towards Pear Lake.
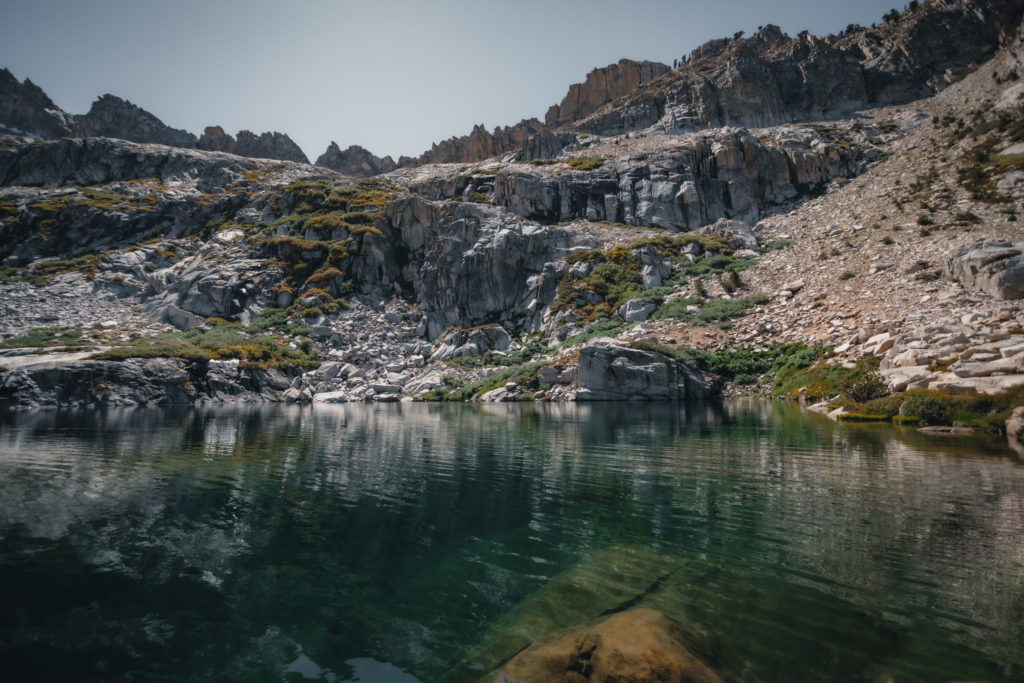
Pear Lake
Reaching our final destination of Pear Lake is the hardest part of the journey. Since we lost elevation at Emerald Lake, we’ll have to gain it back within the mile up to Pear Lake. Without any shade coverage and a climb of +300 feet, the legs start to burn one last time.
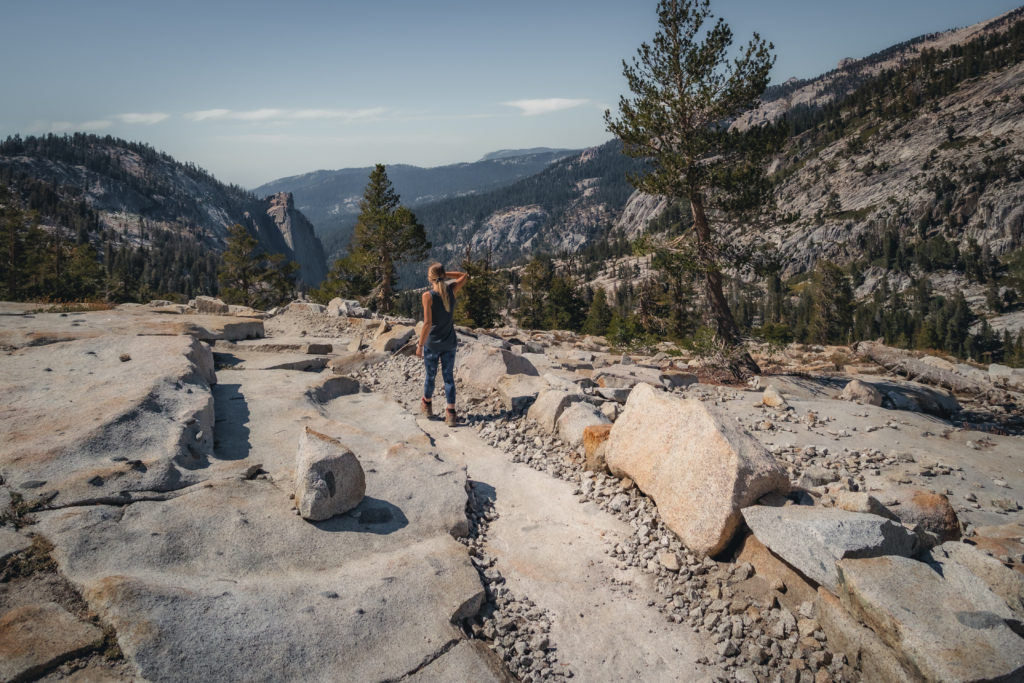
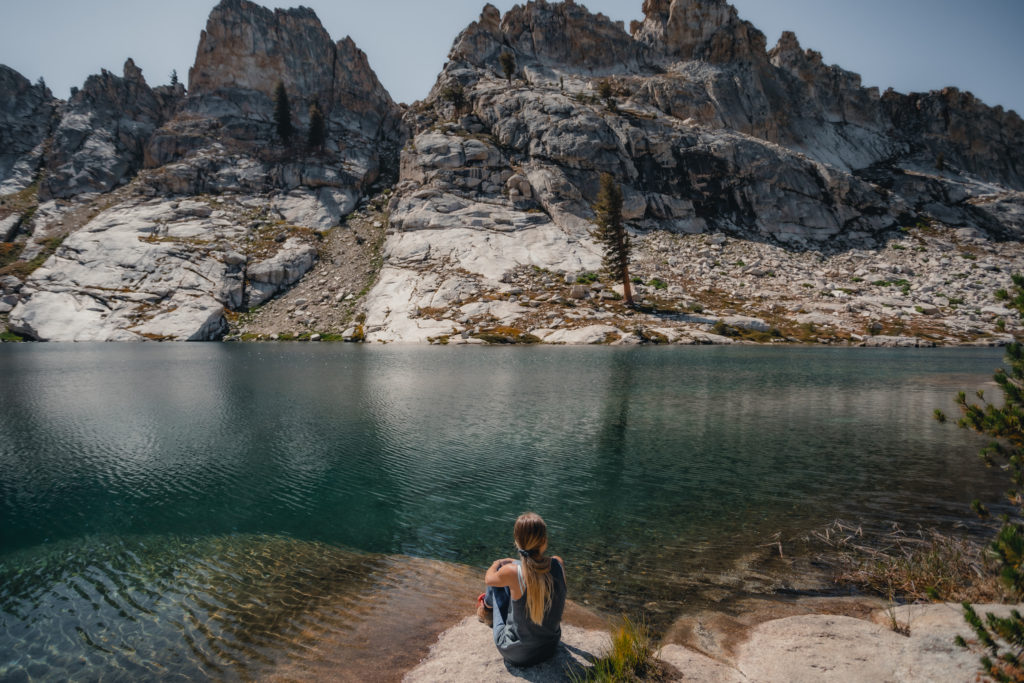
Pear Lake is the largest lake of the bunch, evident by its small mouth that expands into a bigger area. Massive Sequoias dot the perimeter of the smaller lake as the granite domes begin to rise higher in the distance.
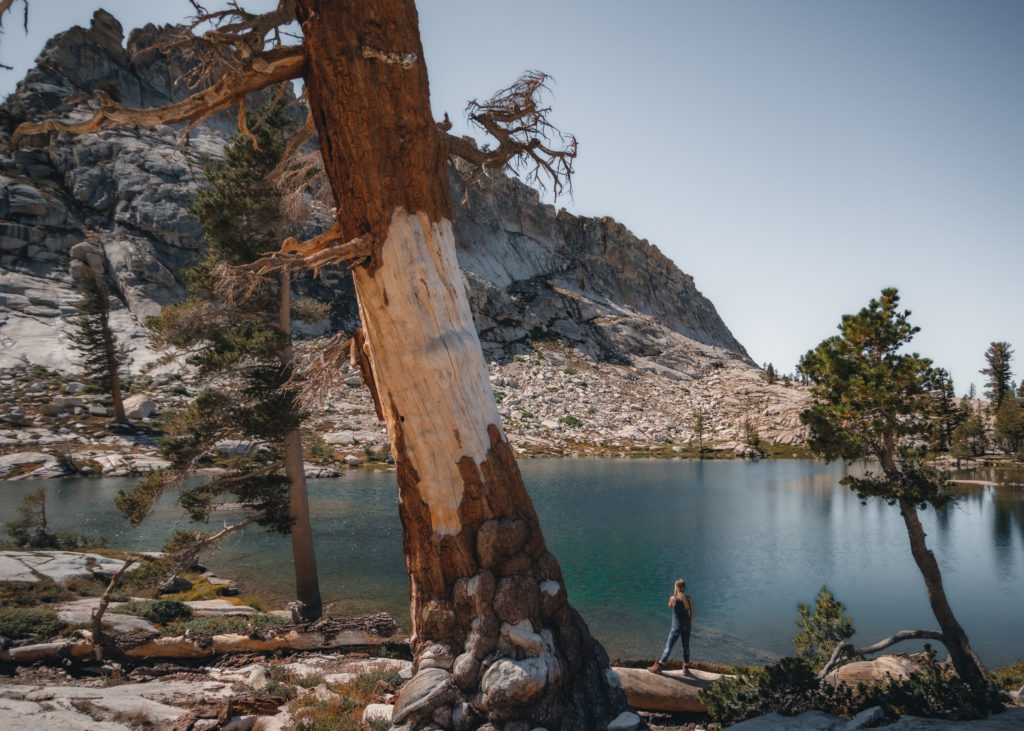
At 9,554′ above sea level, the sides of the mountains jaggedly interrupt the view of the sky, which reflects into the crystal teal waters below.
Hiking Out
After soaking up some sun and enjoying a snack boost, we get back on the trail. Within 2.5 miles and just over +500 feet elevation gain, we reach the trail junction just past Heather Lake. If you want to experience those epic Watchtower views again, take a right. For the shorter, easier option, head left on the Hump Trail. From here, we only have about 4 miles (luckily, all downhill!) until we make it back to the trailhead.
And now you can see why the Lakes Trail is the best hike in Sequoia National Park.
Read More National Park Posts HereBefore heading into the backcountry, it’s imperative that you’re familiar with the “Leave No Trace” principles.
Read More: Leave No Trace: The 7 Rules of the Backcountry
Learn more about Leave No Trace on their website here.
Like This Post? Pin It!
| This post contains affiliate links. At no extra cost to you, if you purchase one of these products I may receive a small commission. This helps me maintain my blog as a free space to you. Check out my Disclaimer for more info.


How do you take such great pictures if you are hiking alone?
I have a super lightweight tripod I keep in my bag!